 |
|||||||
Capturing HDV...
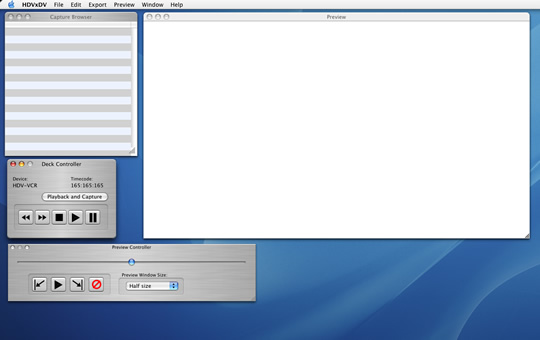
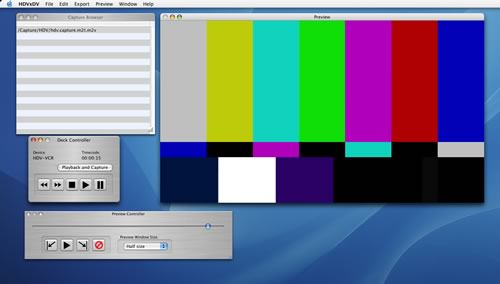
1. Start HDVxDV. You should see the following:
2. If your HDV device is connected, the "Deck Controller" window will look like the following:
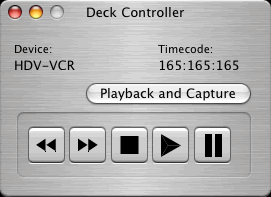
You should see a device listed under the "Device:" text and the buttons for controlling the deck should be enabled. If you don't see this, try checking the connection between your computer and your HDV device.
3. Use the "Deck Controller" to locate the section of the tape that you want. You will need a separate monitor to preview the video from the HDV device. HDVxDV doesn't allow you to preview the video until it is captured.
Once you have found the location you want to capture, press the "Playback and Capture" button. You will see the following dialog appear:
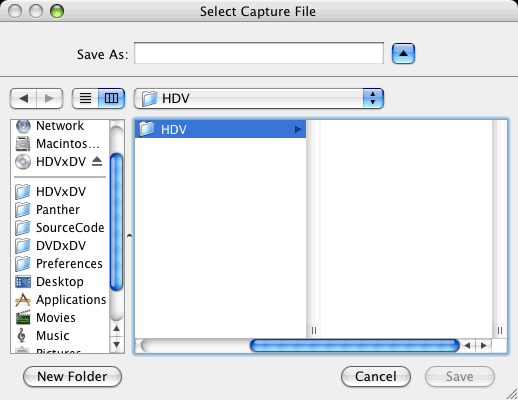
Specify a name and folder to place the new capture file. Make sure that this disk drive has plenty of space to handle the capture file. You will need at least 14 gigabytes of space per hour of video.
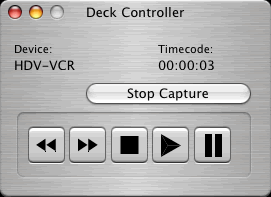
If the HDV device is stopped, HDVxDV will start it. If you have the HDV device paused, you will need to press the pause button again to resume playback. The "Playback and Capture" button will change to read "Stop Capture":
Press the "Stop Capture" button when you are ready to stop the capture process. The HDV file that you created should appear in the "Capture Browser":
You are now ready to convert the captured video into a Quicktime movie (see converting to Quicktime.)