|
|||
 |
|||

Tutorial: Getting Started with Veescope Converter.Importing Video Files.
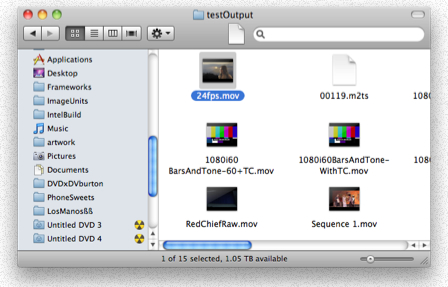
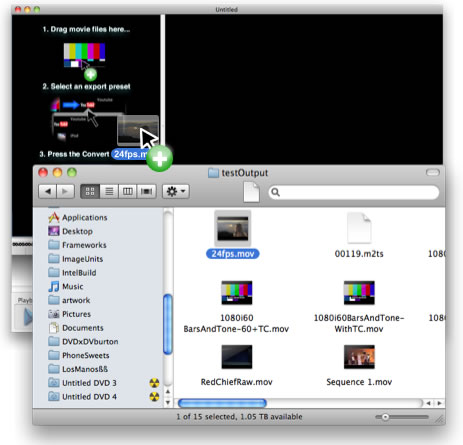
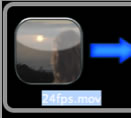
Select one or more files and drag them from the Finder to the Veescope Converter window. The pointer will display a green circle with a plus sign when this is done correctly.
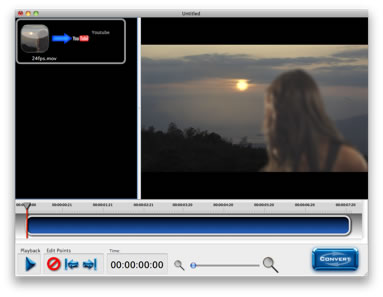
The video file will now appear in Veescope Converter.
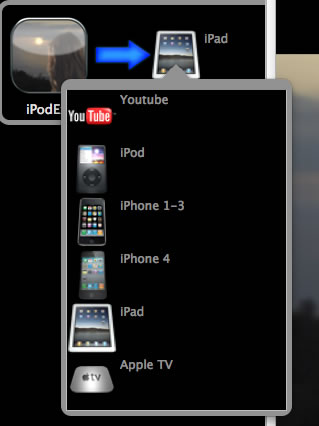
Selecting an Export Preset.
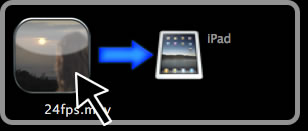
Click on the preset icon will display the preset popup window. Click on one of these presets in the popup window. Select the preset that you want to use.
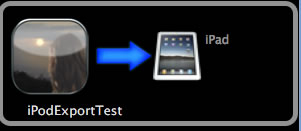
The popup window will disappear and new video preset will be displayed next to the blue arrow.
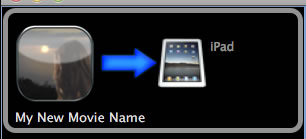
Changing the File Name.
The movie’s title will be highlighted. Type in the name of file you want to create and press the return key. You do not need to include the file extension such as “mov” or “mp4”, as the export preset will change this.
The new title will now appear in the window.
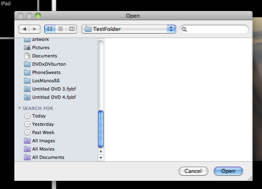
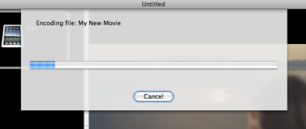
Exporting Video.
A new dialog box will appear. Select the folder that you want to save the new movie to. It helps if you select an empty folder to avoid name conflicts with the original video files. Veescope Converter will try to change the exported file name, if a file of the same name already exists.
Press the “Open” button and the export process will start.
|
|||